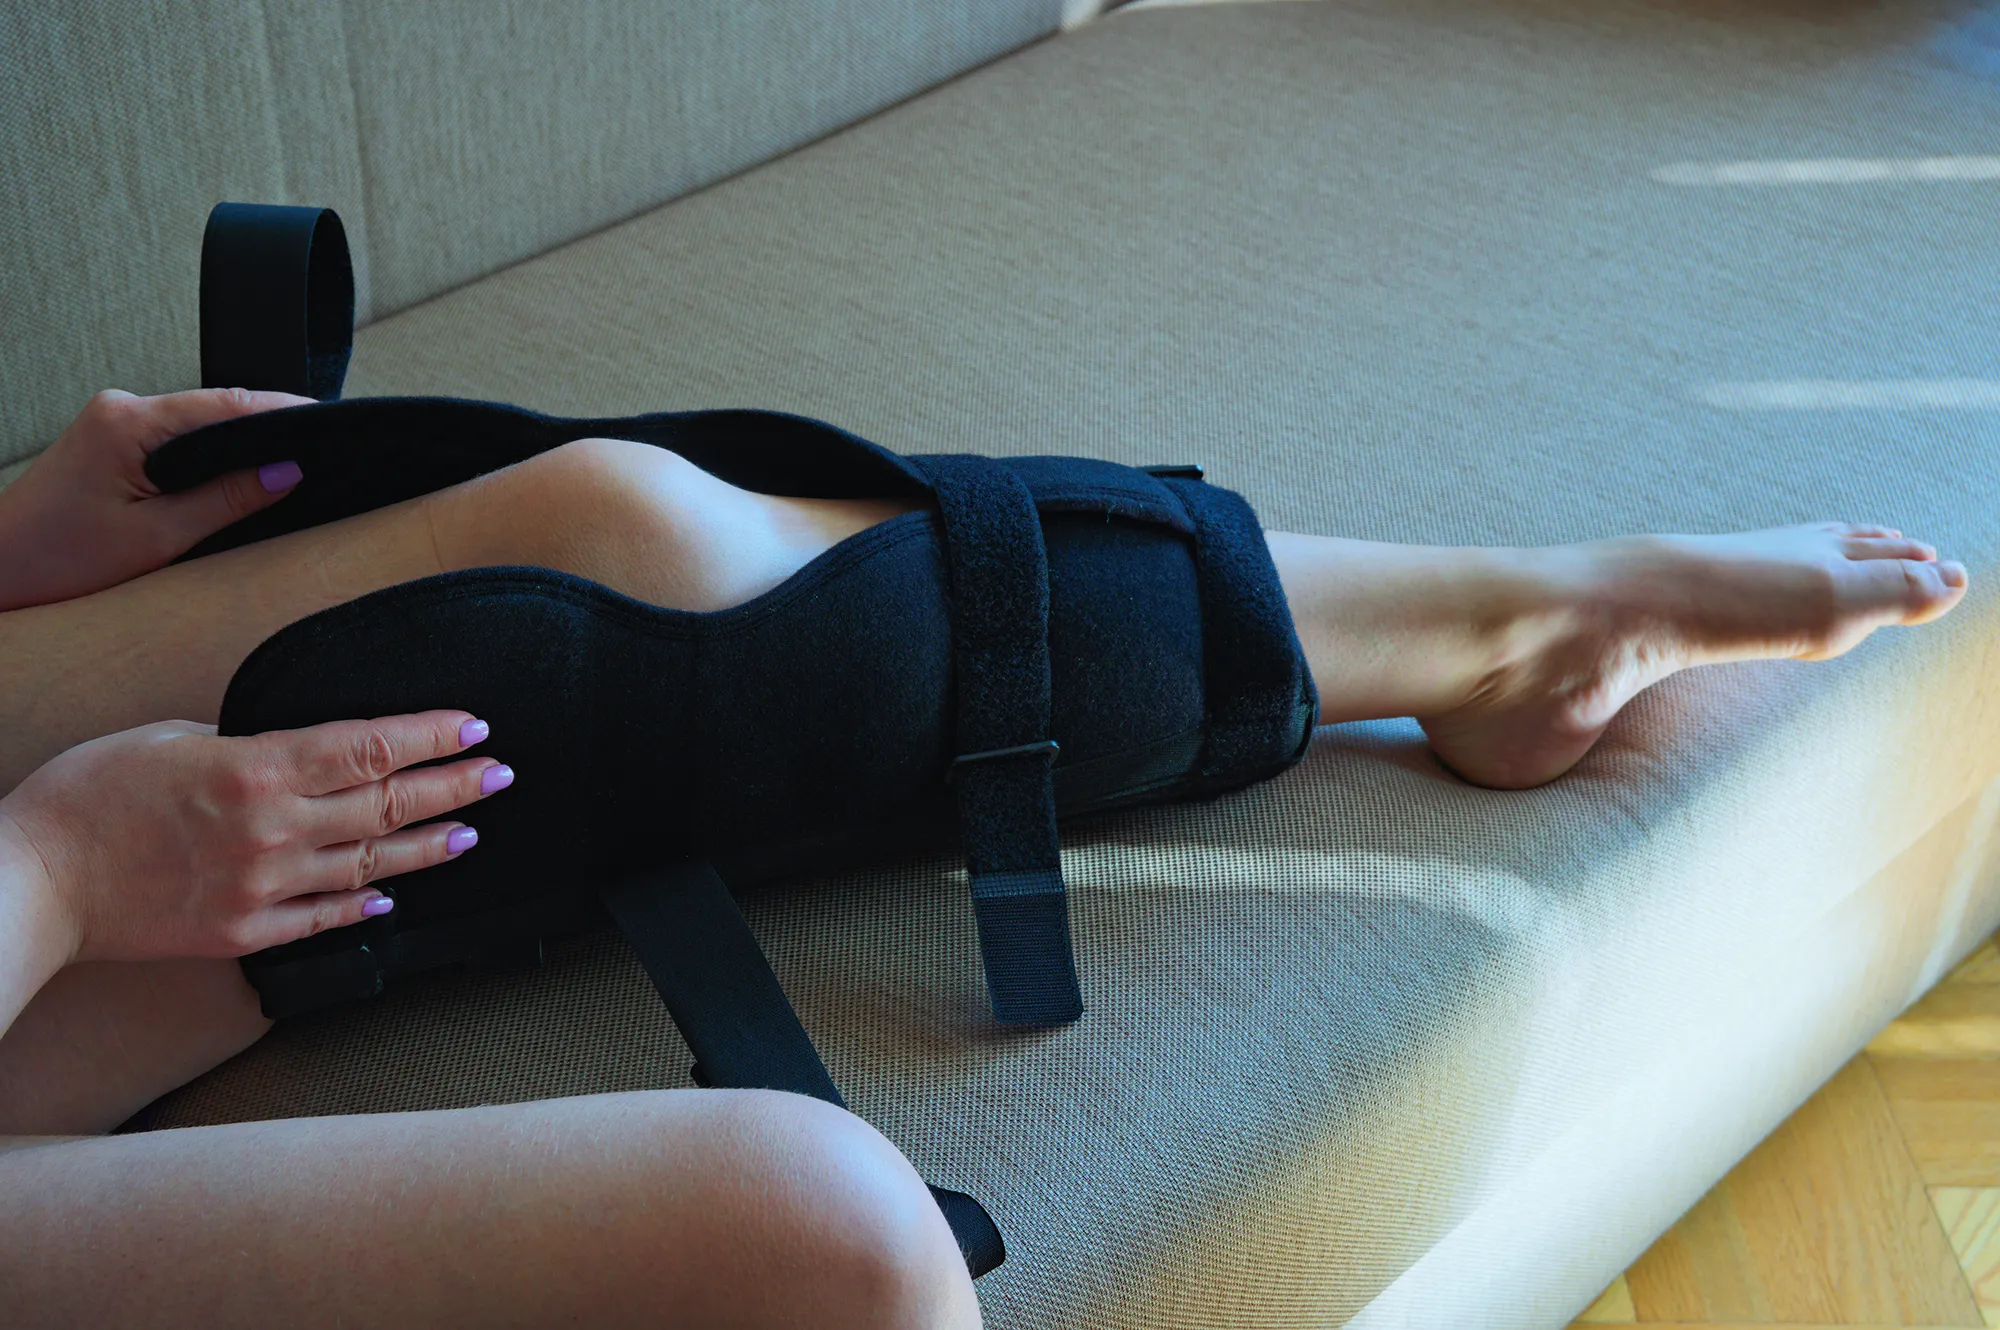
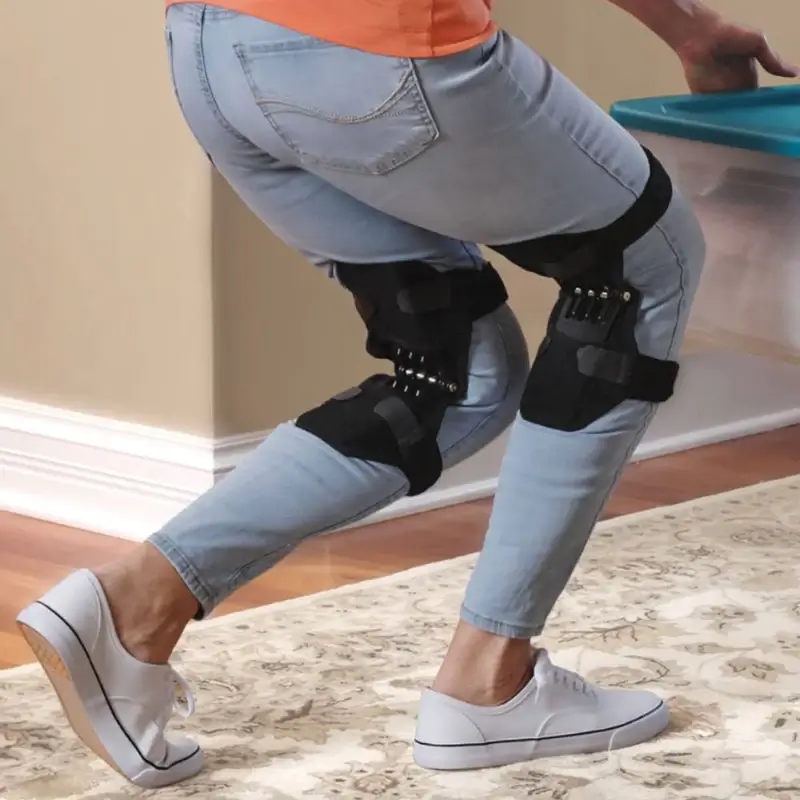
Whether you’re recovering from a knee injury, managing chronic pain, or seeking extra support during physical activities, a knee brace can be a vital tool to enhance your comfort and mobility. However, choosing the right knee brace is not a one-size-fits-all endeavor. To ensure maximum effectiveness and comfort, you must accurately measure your knee for a brace that provides the perfect fit. This step-by-step tutorial will guide you through the intricacies of measuring for a knee brace, so you can make an informed decision and regain control over your knee health.

Knee injuries and conditions are common, affecting people of all ages and activity levels. They can range from minor sprains and strains to more severe issues like torn ligaments, osteoarthritis, and other degenerative conditions. In many cases, wearing a knee brace can offer substantial relief and support, allowing you to continue with your daily activities or sports while reducing the risk of further injury.
Check out our Knee Pads for Comfort and Relief
However, a knee brace is only as effective as its fit. An ill-fitting brace can lead to discomfort, skin irritation, and, worst of all, inadequate support for your injured or vulnerable knee. By understanding how to accurately measure for a knee brace, you can ensure that the brace you choose fits snugly, offers optimal compression, and aligns with your specific needs.
In this comprehensive guide, we will walk you through the essential steps to measure for a knee brace, taking into account various factors such as knee shape, injury type, and intended use. Whether you’re a dedicated athlete looking to prevent injuries, a senior seeking relief from arthritis, or someone recovering from a recent knee surgery, this tutorial will empower you with the knowledge to make an informed choice.
By the end of this step-by-step tutorial, you’ll be equipped with the know-how to measure your knee accurately and confidently select the right knee brace for your unique requirements. No more guesswork, no more discomfort—just the perfect fit for enhanced knee health and mobility.
Assessing Your Needs
1. Identify Your Injury or Condition
Before you embark on the journey of measuring for a knee brace, it’s crucial to identify the specific injury, condition, or reason for which you need the brace. Knee braces come in various types, each designed to address different issues. Common knee conditions and injuries include:
- Anterior Cruciate Ligament (ACL) Injury: A brace for ACL support provides stability to the knee and is often prescribed after surgery.
- Osteoarthritis: For osteoarthritis, a brace with hinges and adjustable straps can help relieve pain and improve joint function.
- Patellar Tendonitis: A knee strap that focuses on the patellar tendon can provide targeted support.
- Meniscus Tears: Depending on the severity of the tear, you may need a brace that restricts or allows movement.
- Preventative Support: Athletes often use prophylactic knee braces to reduce the risk of injuries, especially during high-impact sports.
Identifying your specific issue will determine the type of brace you need and the level of support required.
2. Understand Your Activity Level
Consider your activity level and the conditions in which you’ll be using the brace. Different activities may demand distinct types of braces. For example:
- Sports: If you’re an athlete, you may require a brace that offers stability during sudden movements and impacts.
- Everyday Use: If you need a knee brace for daily activities or work, comfort and ease of movement might be your top priorities.
- Recovery: Post-injury or post-surgery, you might need a brace that limits movement to aid in recovery.
Understanding your activity level will help you choose a brace that complements your lifestyle and provides the necessary support.
Gathering the Right Tools
Now that you’ve assessed your needs, it’s time to gather the tools required for accurate measurement:
- A Flexible Tape Measure: Ensure it’s long enough to encircle your thigh and calf and take accurate measurements.
- Pen and Paper: Keep track of your measurements for reference.
- Mirror: For certain measurements, having a full-length mirror can be helpful.
- Friend or Family Member: Having someone assist you can ensure more accurate measurements, especially for some hard-to-reach areas.
With your tools in hand and your needs identified, let’s move on to the step-by-step process of measuring for your knee brace.
Step 1: Measure Your Thigh Circumference
- Find a flat surface to sit or lie down on.
- Position the tape measure around your thigh, approximately 6 inches (15 cm) above the center of your knee.
- Ensure the tape measure is snug but not tight. It should rest against your skin without squeezing it.
- Take the measurement in inches or centimeters and record it. This measurement is essential for selecting the right size for your knee brace.
Step 2: Measure Your Calf Circumference
- Move the tape measure down to your calf, positioning it around the widest part.
- As with the thigh measurement, ensure the tape measure is snug but not tight.
- Record the calf measurement in inches or centimeters.
These two measurements, the thigh and calf circumferences, are critical for choosing a knee brace that fits securely without being overly constrictive. In the next steps, we’ll further refine our measurements to ensure an accurate fit for your specific knee condition and intended use.
Step 3: Determine the Length of Your Leg
- Sit or stand with your knee bent at a 90-degree angle.
- Measure the length from the crease of your thigh (where it meets your pelvis) down to the center of your knee.
- Record this measurement, as it will help in selecting a knee brace that covers the appropriate area.
Step 4: Assess Knee Girth
- Bend your knee at a 90-degree angle.
- Measure around the circumference of your knee joint.
- Record this measurement.
Your knee girth measurement ensures that the brace will fit your knee’s size and shape accurately.
Step 5: Determine Your Height and Weight
Your height and weight can also be useful for selecting the right knee brace, as they provide additional context for sizing. Some braces come in size ranges based on these factors, so it’s good to have this information on hand.
Conclusion
By following these step-by-step instructions, you’ll be well-equipped to measure for the perfect knee brace tailored to your unique needs. Remember that a well-fitting brace is essential for optimal comfort and support. Once you have your measurements, consult the manufacturer’s sizing guidelines or seek the advice of a healthcare professional to ensure you choose the right knee brace. With the right fit, you can confidently pursue your desired level of activity and take strides toward improved knee health and mobility.


